
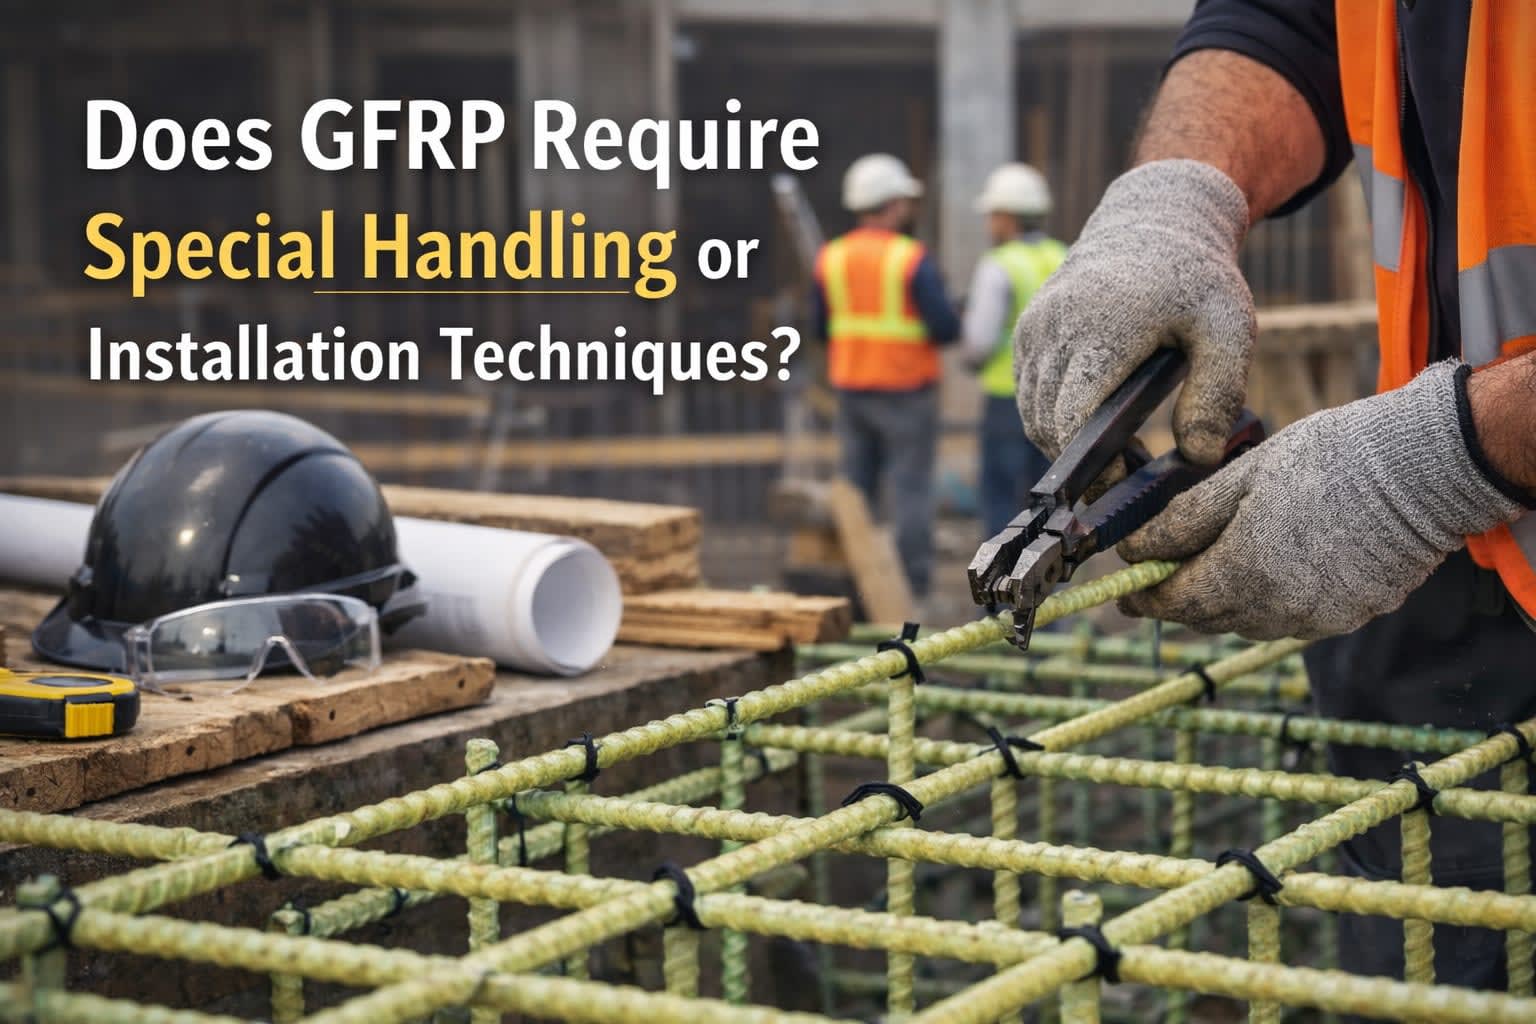
So, you're looking into using GFRP rebar for your next project, huh? It's a pretty cool material, way different from the old steel stuff. It doesn't rust, it's lighter, and it's strong. But like anything new, it's got its own quirks. You can't just treat it like steel; there are some specific ways you need to handle it and put it in place to make sure it works right. This article will break down what you need to know so you don't run into any surprises on the job site.
Key Takeaways
- GFRP rebar is much lighter than steel, making it easier to handle and transport, but it's also more flexible and needs proper support to avoid damage.
- You absolutely cannot bend GFRP rebar on site; all shaped pieces must be factory-made to avoid internal damage that weakens the material.
- Specialized cutting tools with diamond or abrasive blades are required for GFRP, as standard steel cutters can damage the resin matrix.
- When tying GFRP, use plastic zip ties, nylon ties, or non-metallic clips to maintain its corrosion-resistant and non-conductive properties.
- Always consult ACI 440.11-22 and the specific manufacturer's guidelines, as GFRP quality directly impacts performance, and proper installation is key.
Understanding GFRP Rebar Properties
Key Performance Differences Compared to Steel
So, you're looking at using GFRP rebar instead of the old standby, steel. It's a smart move for many projects, especially when rust is a concern. But here's the thing: GFRP isn't just a drop-in replacement for steel. It behaves differently, and knowing those differences is pretty important.
Unlike steel, which gives you a bit of a warning before it snaps by bending or yielding, GFRP rebar is pretty straightforward. It keeps going straight until it reaches its breaking point. This means you can't rely on that visual cue you might get with steel. It's also a lot lighter, which is great for handling, but it can sometimes float up in wet concrete if you're not careful. That's a big one to remember.
Here's a quick rundown of how they stack up:
- Tensile Strength: GFRP is generally stronger than steel. Think around double the strength in tension.
- Stiffness (Modulus of Elasticity): Steel is much stiffer. This means GFRP will deflect more under the same load.
- Weight: GFRP is about a quarter of the weight of steel. Big win for transport and installation.
- Corrosion: Steel rusts and requires frequent maintenance. GFRP remains corrosion-free, reducing lifecycle costs and extending structural lifespan.
- Electrical Conductivity: Steel conducts electricity. GFRP does not. This is a major plus in certain environments.
Strength-to-Weight Ratio and Durability
When you talk about strength-to-weight, GFRP really shines. It's incredibly strong for how little it weighs. This makes it easier to move around the job site, which can speed things up and reduce the risk of injuries. Plus, since it doesn't rust, it tends to last a really long time, especially in places where steel would break down quickly.
Think about bridges or structures near the coast. Steel rebar can corrode, expand, and crack the concrete. GFRP, on the other hand, just sits there, doing its job, without degrading from exposure to salts or moisture. It's also pretty stable across a wide range of temperatures, from pretty cold to quite hot, without losing its strength.
Corrosion and Electrical Characteristics
This is where GFRP really sets itself apart. It's completely immune to corrosion. No rust, no degradation from chemicals, no problems in salty environments. This is a massive advantage for the long-term life of a structure.
And then there's the electrical side of things. GFRP is non-conductive. This means it won't interfere with electrical signals, and it's a safer choice in areas where electrical conductivity could be an issue. It's also a good thermal insulator, which can be a benefit in some applications.
Remember, while GFRP is strong, it's also brittle. It doesn't stretch or bend like steel before failing. This means how you tie and support it during installation is super important to make sure it does its job correctly and doesn't get damaged.
Essential Tools and Safety Equipment
Working with GFRP rebar means you'll need a few specific tools and some safety gear that might be different from what you use with traditional steel. It's not rocket science, but paying attention to these details makes the job smoother and safer.
Specialized Cutting Equipment for GFRP
Forget your standard metal-cutting blades. When you cut GFRP, you need something that won't generate too much heat. Too much heat can disrupt the resin that holds the glass fibers together, weakening the bar. Diamond-tipped blades or specialized cutting wheels designed for composites are your best bet. Using a wet cutting system is even better because it keeps the dust down and helps cool the blade. Standard hacksaws or bolt cutters just won't cut it – literally. They can damage the rebar and are really inefficient.
Required Personal Protective Gear
Safety first, always. When cutting GFRP, fine glass dust gets released. You don't want that in your lungs or eyes. So, a good respirator is a must, something approved for fiberglass particles. Safety glasses with side shields are non-negotiable. Also, wear long sleeves and pants to protect your skin from irritation. Cut-resistant gloves are a good idea too, especially when handling the rebar bundles.
- Respirator (NIOSH-approved for fiberglass dust)
- Safety glasses with side shields
- Long sleeves and pants
- Cut-resistant gloves
Tying Materials and Support Systems
How you tie the rebar and support it is also a bit different. You can't just crank down on ties like you might with steel. Over-tightening can damage the GFRP's surface. High-quality plastic zip ties or stainless steel tie wire (like Grade 316 if you're in a salty environment) work well. Just be gentle when you tie them. For support, you'll need chairs or bolsters. These often need to be spaced closer together than you would for steel – think about every 4 feet or so, not the 6-8 feet you might be used to. Using non-metallic chairs is also a good idea to keep the whole system corrosion-resistant.
Using the right tools and safety gear isn't just about following rules; it's about making sure the GFRP performs as it should and keeping everyone on the crew safe and comfortable throughout the project. It's a small change in approach that makes a big difference.
Site Preparation and Handling Procedures
Getting ready to work with GFRP rebar involves a few key steps that are a bit different from those for steel. It's not super complicated, but paying attention to the details makes a big difference in how smoothly everything goes and how well the final structure holds up. Think of it like prepping your tools and materials before a big project – you wouldn't just grab whatever's lying around, right?
Proper Storage to Prevent Damage
First off, where you keep the GFRP before it gets installed matters. These bars are tough, but they aren't indestructible. Leaving them out in the sun for ages or piling heavy stuff on top isn't a good idea. Keep GFRP rebar stored off the ground, ideally in its original packaging or under a cover, away from direct sunlight and harsh weather. This helps prevent any potential degradation from UV rays and keeps them clean and ready to go. It’s also a good way to avoid accidental damage from site traffic or falling objects. Just a little care upfront saves headaches later.
Site Preparation Essentials
Before you even unwrap the GFRP, make sure your work area is set. This means having a clear space to move around and lay out the rebar. You'll also want to have your cutting tools and safety gear ready. If you're working on a slab, ensure the formwork is in place and stable. For any project, having a plan for how you'll move the rebar from storage to its final position is smart. Think about access points and any potential obstacles.
Handling Lightweight GFRP Bundles and Mesh
One of the first things you'll notice is how light GFRP is compared to steel. This is a huge plus for handling, but it also means you need to be mindful of how it moves. Bundles of GFRP rebar are easier to carry, and mesh rolls can be unrolled quickly over large areas. However, because they're light, they can shift or blow around more easily if not secured. When placing mesh, unroll it carefully to maintain the grid spacing. For individual bars, avoid dragging them across rough surfaces, which can cause surface damage. Always use appropriate lifting techniques, even though the material is lighter. It's still reinforcement, and you don't want to damage it before it's even in place.
When handling GFRP, remember its lightweight nature is an advantage for labor, but it also requires securing it properly to prevent displacement during concrete placement. Use enough ties and appropriate supports to keep everything exactly where the design drawings say it should be. Don't let the ease of handling make you careless about its final position.
Installation Techniques for GFRP
Working with GFRP rebar, dowels, and form ties is a bit different from what you might be used to with steel, but it's not overly complicated once you get the hang of it. The key is understanding the material's properties and using the right methods.
GFRP Rebar Tying Methods
Keeping GFRP rebar in place during a concrete pour is pretty straightforward. You'll want to tie the bars at intersections to stop them from shifting. For bars spaced more than about 12 inches apart, tie them at every intersection. If they're closer than that, you can tie every other intersection or every intersection, depending on what feels secure. The goal here isn't permanent strength; it's just to hold things steady while the concrete is wet and being worked. Using plastic zip ties, nylon ties, or special non-metallic clips is the way to go if you want to keep the whole system non-metallic and corrosion-free. Standard wire ties can work too, but if you're aiming for maximum corrosion resistance, stick with the non-metallic options.
Support Spacing and Placement
When you're setting up your rebar, you'll need to use support chairs or bolsters to keep it at the correct height. Because GFRP is lighter than steel, you might need to place these supports a bit closer together. While steel might get supports every 6 to 8 feet, for GFRP, aim for a maximum spacing of about 4 feet. This helps prevent the bars from sagging or floating up when the concrete is poured. Make sure these supports are also made of non-metallic materials like plastic or fiberglass to avoid creating any weak points for corrosion.
Working with GFRP Dowels and Form Ties
GFRP dowels are designed to have a low bond strength with concrete, which actually makes installation easier. You don't need to grease them or do any special prep work to prevent bonding. They can be installed using standard equipment, like slip-form pavers or dowel insertion machines. For GFRP form ties, the process is also simplified. Unlike steel ties that often need to be broken off and the holes patched, GFRP ties are simply sawn off flush with the concrete surface once it sets. This leaves a clean finish that blends in, saving you time and effort on patching.
Remember, GFRP is strong but can be brittle under sharp impacts. Handle bundles carefully and avoid dropping them. Also, any bends needed in the rebar should be done at the factory. Trying to bend GFRP on-site can cause internal damage that you can't see, but will weaken the bar significantly.
Critical Considerations for GFRP Installation
The Importance of Factory-Bent Elements
When you're working with GFRP rebar, one thing you absolutely cannot do is bend it on-site. Unlike steel, which has a bit of give, GFRP doesn't have that same flexibility. Trying to bend it yourself, even with a makeshift jig, will likely cause tiny cracks within the fibers. These micro-cracks might not be visible, but they seriously weaken the bar and reduce its load-carrying ability. So, if your project calls for hooks, stirrups, or any kind of U or L shape, you need to make sure those are ordered from the factory already bent to the correct specifications. The manufacturer and the engineer will have worked out the proper bending radii, and it's important to stick to those. Getting these pre-bent pieces means you're starting with reinforcement that's already up to code and ready to perform.
Understanding Design Codes and Standards
While the engineers handle the heavy lifting of design, it's good for installers to know the main rulebooks. In the US, the go-to document for GFRP rebar is ACI 440.11-22. There's also ASTM D7957, which is more about the product itself, defining its properties and how it should measure up. These codes and standards dictate things like how much concrete cover you need, how far apart the bars should be, and how they should overlap or anchor. Your design drawings will have all these specifics laid out, based on these codes and any local building rules. It’s all about making sure the GFRP is placed exactly as intended for the structure to work right.
Addressing Common Installation Mistakes
Getting GFRP installed correctly can sometimes trip people up if they're used to working with steel. Here are a few common slip-ups to watch out for:
- Over-tightening ties: This is a big one. When you tie the rebar, don't crank down on the wire or zip tie too hard. GFRP's surface can get damaged easily, creating weak spots. Just make them snug enough to hold the bars in place during the pour.
- Using steel-cutting tools: Standard cutting wheels create a lot of heat. This heat can damage the resin that holds the GFRP fibers together. It might not look bad right away, but it compromises the bar's strength. Always use tools designed for composites, like diamond blades or specific cutting wheels.
- Incorrect support spacing: The chairs or bolsters holding up the rebar need to be closer together than you might use for steel. If they're too far apart, the GFRP can sag, especially when the wet concrete is poured on top, leading to alignment issues.
- Field bending: as we mentioned, don't bend it on site. It's just asking for trouble and will weaken the material.
Paying attention to these details isn't just about following rules; it's about making sure the GFRP does its job effectively over the long haul. Small mistakes early on can lead to bigger problems down the road, and nobody wants that.
Quality Control and Manufacturer Specifications
When you're working with GFRP rebar, paying attention to the quality of the product itself and sticking to what the manufacturer says is super important. It’s not just about how you install it; it’s about what you’re installing in the first place.
Impact of GFRP Product Quality
Think of it like this: even the best installer can't fix a bad product. If the GFRP rebar wasn't made right – maybe the resin didn't soak into the fibers properly, or it got damaged during manufacturing – it just won't perform like it's supposed to. This can lead to issues down the road, even if everything looks okay on the surface during the pour. The quality of the GFRP product you purchase directly affects your end result. Sometimes, cheaper options might seem appealing, but they might not last as long or work as well as higher-quality materials. It's worth looking into how the rebar was made, like the impregnation process and curing, to get a feel for its potential performance.
Adhering to Manufacturer Guidelines
Manufacturers put out guidelines for a reason. They know their product best. This includes things like how to store the GFRP, any specific cutting procedures, and even how to tie it. For instance, they'll tell you about acceptable damage levels – usually, small nicks or scrapes that don't go too deep into the bar are fine, but anything more might mean you need to replace the bar or add a splice. It’s not like steel, where you can just bend it on site; GFRP needs to be handled according to the book to avoid creating tiny cracks that weaken it.
Ensuring Optimal Structural Performance
Getting the best performance out of GFRP rebar means following the rules laid out in design codes like ACI 440.11-22 and ASTM D7957. These codes, along with the engineer's specific drawings, dictate things like how far apart the bars should be, how much concrete cover you need, and how long lap splices should be. For example, GFRP lap splices are often longer than steel ones – maybe 40 to 60 times the bar diameter. If a drawing calls for a 50d lap on a #4 bar (which is about half an inch in diameter), that's a 25-inch lap! Don't guess or try to save a few inches; getting these lengths right is key for the structure to work properly and for controlling cracks. It’s all about making sure the rebar does its job effectively within the concrete.
Here's a quick rundown of what to keep in mind:
- Check the Drawings: Always follow the engineer's plans for bar size, spacing, and cover.
- Inspect the Product: Look for any obvious damage before you start installing.
- Follow Manufacturer Advice: Pay attention to storage, handling, and cutting recommendations.
- Use Correct Splice Lengths: Don't shorten lap splices; they are calculated for a reason.
- Proper Tying: Secure the rebar adequately to prevent movement during the concrete pour.
Wrapping It Up: GFRP Installation Isn't Rocket Science
So, does GFRP need special handling? Yeah, a little bit. It's not like you can just treat it exactly like steel rebar. You've got to use the right cutting tools, tie it a bit differently, and definitely don't try bending it on site – that's a factory job. But honestly, once you get the hang of it, it’s pretty straightforward. The benefits, like not having to worry about rust and the lighter weight, make it totally worth learning these few new tricks. It’s more about understanding the material and using the right gear than anything super complicated. Just follow the guidelines, keep safety in mind, and you'll be installing GFRP like a pro in no time.
Frequently Asked Questions
Why can't I bend GFRP rebar on the job site like steel?
GFRP rebar is different from steel. Bending it on site can cause tiny cracks inside that you can't see, which makes it much weaker. All bends, like hooks and shapes, need to be made at the factory where they can be done carefully under controlled conditions.
What kind of tools do I need to cut GFRP rebar?
You can't use regular tools made for steel. You'll need special cutting tools like a saw with a diamond blade or a fiberglass-specific cutting wheel. Using the wrong tools can damage the rebar by crushing it or causing the layers to separate.
How is tying GFRP rebar different from tying steel rebar?
While you can use similar tying methods to steel, it's best to use materials that won't corrode, like stainless steel wire or strong plastic zip ties. This helps keep the whole structure free from rust and ensures the ties don't cause problems later.
Why is the proper storage of GFRP rebar important before installation?
Storing GFRP rebar correctly is key to preventing damage. You should keep bundles off the ground on supports, protect them from too much sun if they'll be stored for a while, and avoid dropping them. Little dents or chips can weaken the material.
What safety gear should I wear when working with GFRP?
When handling or cutting GFRP, it's important to protect yourself. Always wear safety glasses, gloves, and long sleeves and pants. If you're cutting it, wear a dust mask because the fine glass dust can irritate your skin, eyes, and lungs.
Can I use the same spacing for GFRP rebar supports as I do for steel rebar?
No, GFRP rebar needs supports placed closer together than steel rebar. Usually, supports should be no more than about 4 feet apart, whereas for steel, you might go 6 to 8 feet. This is because GFRP is a bit more flexible and needs more frequent support to stay in place.